Education & Advice
Sub Floor Ventilation: A few things you need to know
Do you need a Sub Floor Ventilation system?
It’s easy to forget that the area under your home needs ventilation. After all, you’re not down there to notice the air quality. But that doesn’t mean it’s not important. If there is a problem with the ventilation under your house, it can affect your living environment. Moisture underneath the home might get your attention with a musty smell or sunken floorboards. This is because a moist environment rots timber and allows mould growth. Even worse, damp or rotten timber is a great place for termites to make a nest. In the worst case scenario, damp from under the home causes illness. Preventing dampness under the home or fixing it early will keep you and your family healthy. Making sure that you have proper sub floor ventilation is an essential step to fixing these problems.
So how do you tell if there is a problem is under the home?
Most people don’t realise that there’s a problem with the sub floor until it becomes a problem in the main house. As we’ve already mentioned, odours and sunken floors might indicate a problem with the sub floor, but there are other signs too. Moist air in the living space can come from underneath the house. So if there’s a lot of condensation on your windows, or the house feels humid, it’s time to take a look at the ventilation of the whole house, including the sub floor.
If it’s possible to check the crawl space for signs of condensation, mould or rot, then you should. Investigate any signs of water under the home, eg. discoloured timber. Try and identify the source of the water:
- Is there a leaking pipe?
- Are there signs of condensation?
- Is there any visible mould or mildew?
- Can rain water come in?
- If there’s a smell, is it stronger in the crawl space?
Not everybody can get down underneath their house, but if you think there might be a problem, it’s certainly worth asking a friend or relative to check it out for you.
Where does the moisture come from?
Moisture winds up under the house in a number of ways. Some are less obvious than others. It’s easy to diagnose a drip from a leaky pipe, or a puddle where rain water may have poured in through a gap in the building. It’s harder to tell if the moisture is coming up through the soil. Surface soil might appear dry, but hide a lot of moisture. As the moisture evaporates, it comes up through the soil and under the home. Without adequate ventilation, this moisture is trapped under the house with no way out. This is why the air under the home might feel damp, even if there’s no visible water source.
How do we fix it?
If the problem is caused by a leak under the home, the first thing to do is seal it up. Once you’re sure that you’ve patched up any leaks, and drained out any excess water, it’s time to think about ventilation.
Without ventilation, the humidity under the house has nowhere to go. Even if there are existing vents, the air flow might not be fast enough to extract the moisture. In this case, you may need an exhaust fan to mechanically remove the stale air. The principles of sub floor ventilation are quite simple, a well ventilated area that allows for fresh air to enter from different areas will generally result in a healthier sub floor area.
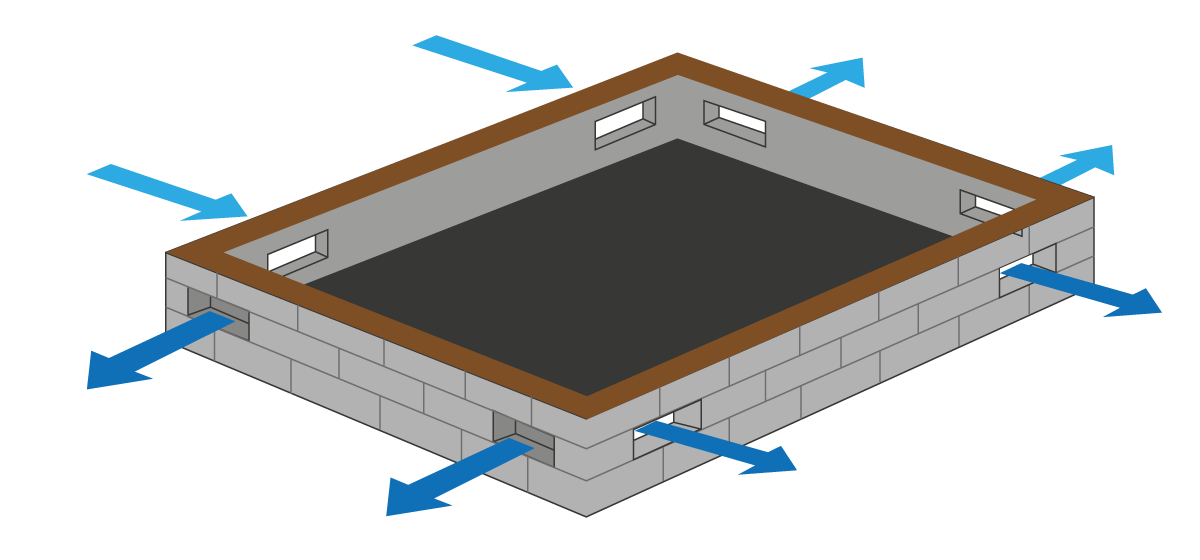
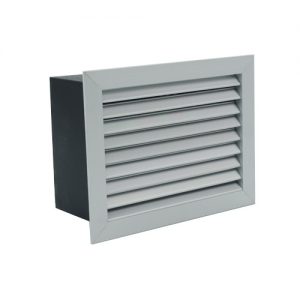
Simple air vents (commonly brick type vents with small holes in them) strategically positioned around the sub floor perimeter is the most common measure to ensure sub floor ventilation. This uses natural (or passive) cross flow of air, as shown in the below image. These should be free from any blockage and above ground level so that airflow is not obstructed. In many cases we find that this alone may not be enough. Furthermore it is possible that things like house extensions or decks attached to the side of the building may leads to these vents being blocked, in which case it may be necessary to supplement these vents with some mechanical ventilation.
“A cross flow of air movement allowing fresh air to enter and stale air to exit results in a healthier sub floor environment”
If you want to consider adding an exhaust fan to your sub floor area there are a few considerations, and a few different ways of configuring the system. This may vary depending on your sub floor area and factors such as the number of passive vents that you have, if there are problematic areas with no external vents etc. So lets consider a few options below.
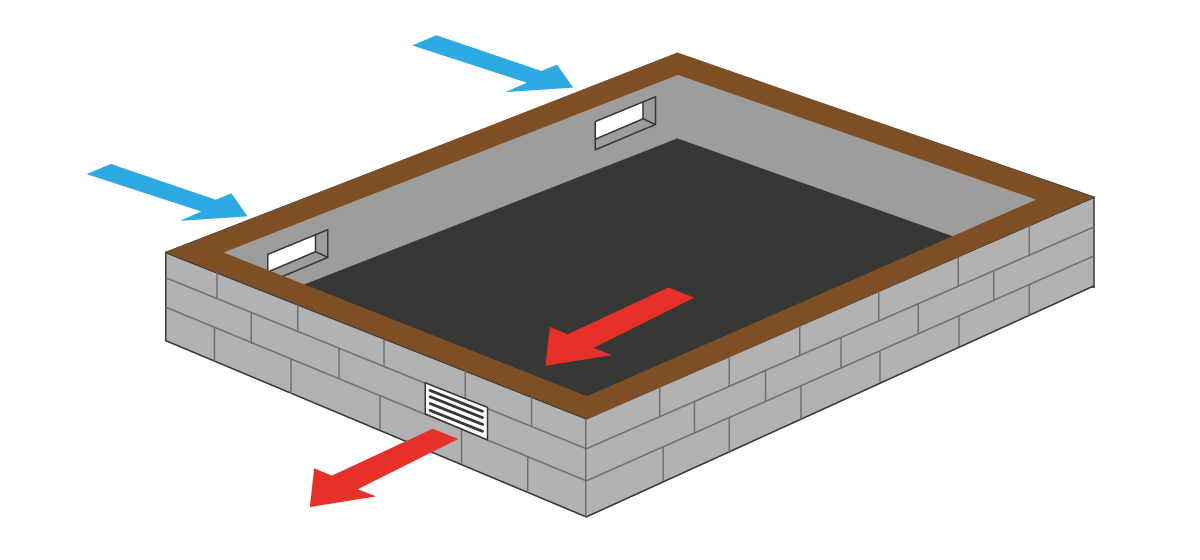
Option 1) Install a Wall Mounted Sub floor fan
This is probably the easiest solution and involves simply installing a suitable fan on the wall. In the below example we have one wall mounted fan extracting from the sub floor area to the outside. The below example has passive vents on one side of the property, which allow for air to enter. Bear in mind you will need to have a power outlet installed in the sub floor area in close enough proximity so that the fan can be plugged in. So unless there is one already there you will need to hire an electrician to do this.
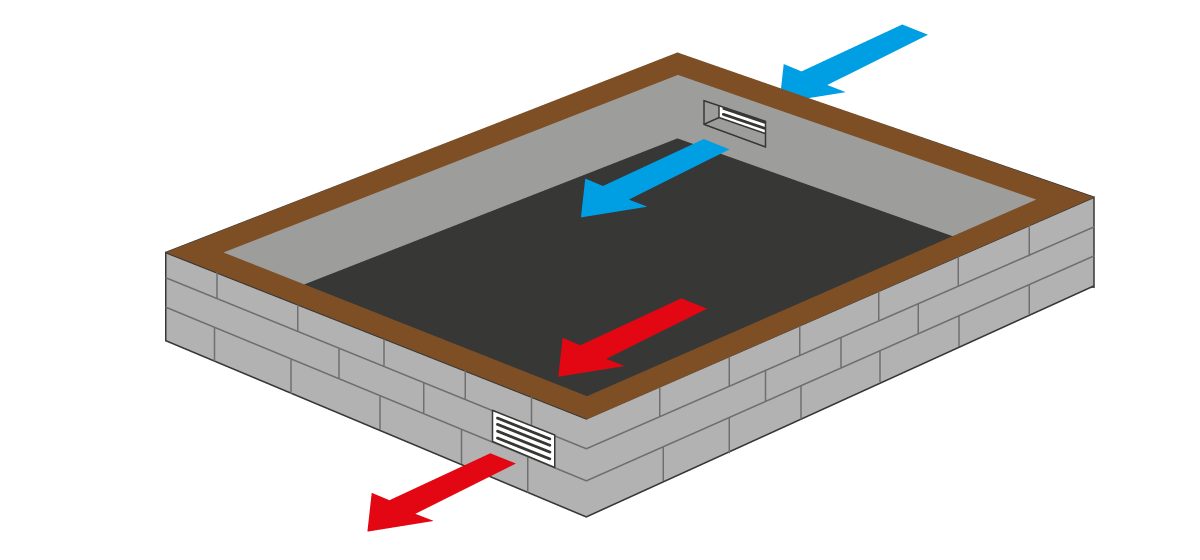
Some models can also be configured to supply air, so in a scenario with no passive vents it would be possible to install one fan supplying and another fan exhausting as per the below. This provides you with a balanced pressure system:
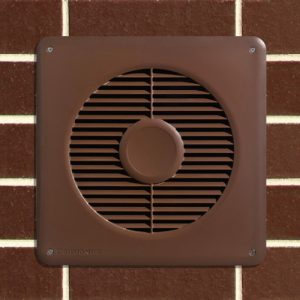
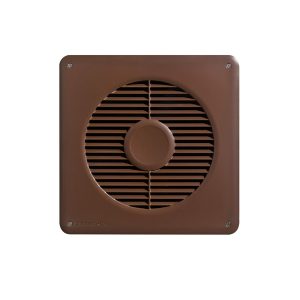
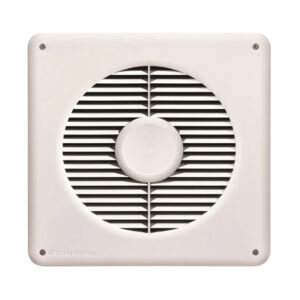
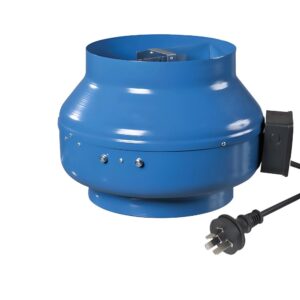
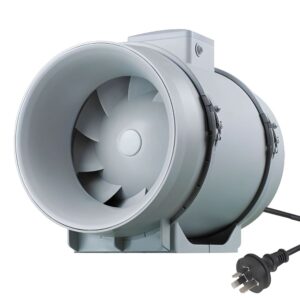
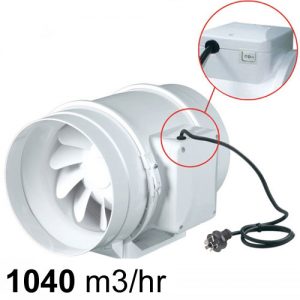
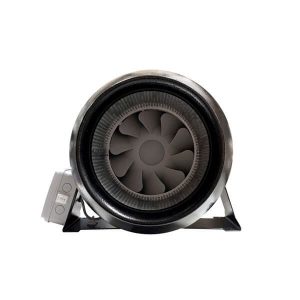
Some Popular Sub Floor Wall Mounted Fans


How About A Solar Powered Fan?
We also have a solar powered fan that can be used to ventilate (extract air) from a sub floor area. The below product is the Solarark solar powered wall ventilator. This compact little fan has a solar panel built into the protective hood. The fan would however need to be placed in an area that receives ample direct sunlight (ideally north facing wall). The benefits are obvious, no running costs, no electrician required to install. Read more about this nifty little product below:


Option 2: Ducted Inline Fan System
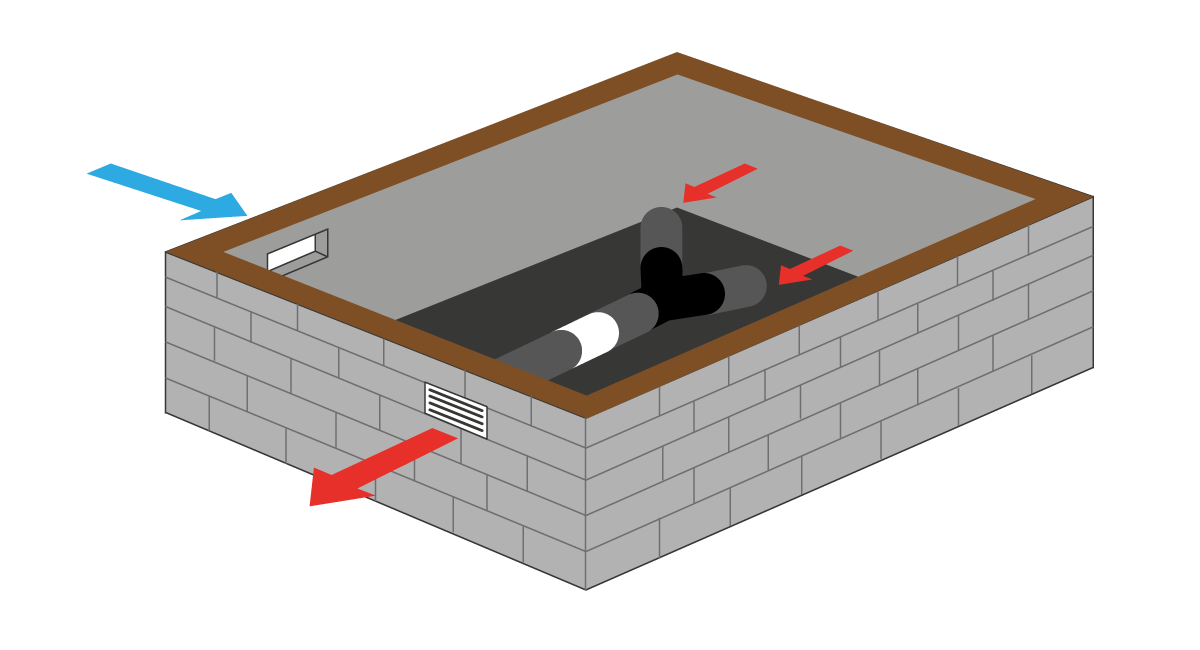
A ducted inline system means you can run ducting directly to ‘problem areas’. This option is an ideal solution for a very large area as you have the ability to have multiple pick up points. In the below example we one passive vent in conjunction with an inline system. The inline system has two intake points focused on the sub floor area furthest away from the passive vent.
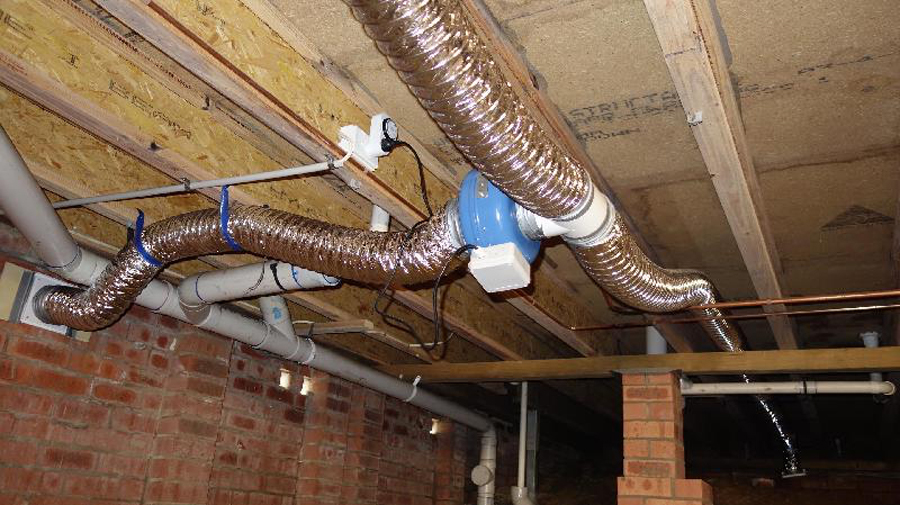
Below is an image showing one of our Fanco sub floor kits installed. Here you can see the fan plugged into a 24 hour run on timer. All kits come equipped with a timer so that you can specify the operating hours of the system. Generally running for 3-4 hours per day is sufficient. This kit has two intake points, one at opposite ends of the sub floor area. This is a good example of how an inline fan kit can service a large area. Our largest kits come with 18m of ducting and extra lengths can be added if required.
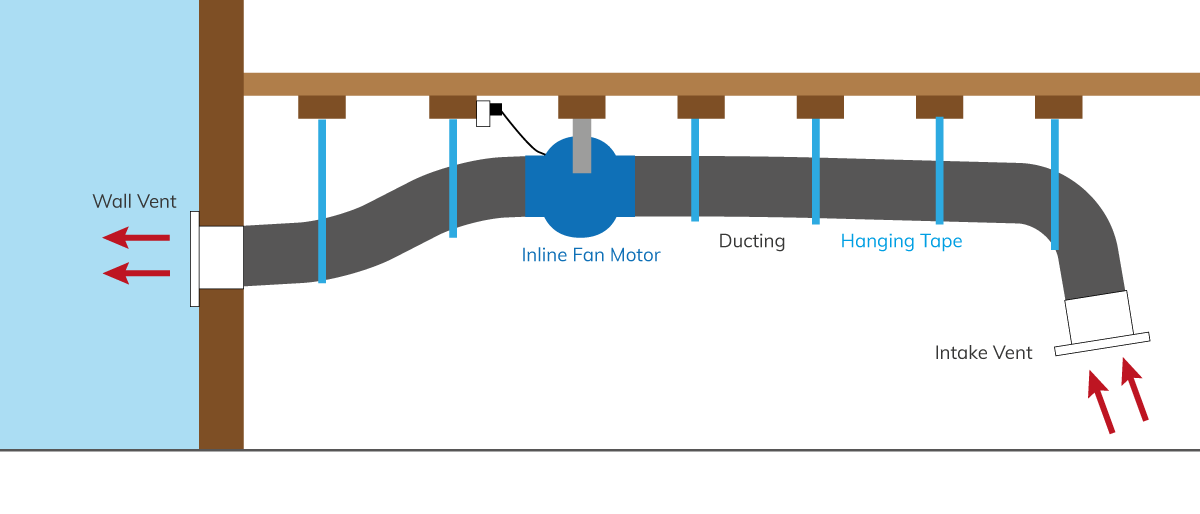
Below shows a very simplified cross section showing an inline kit installed. Here the fan is plugged into a 24 hour timer. The fan is secured to a joist using the mounting bracket supplied. Ducting is kept relatively straight by using hanging tape. Unnecessary bends and sagging in ducting will contribute to reduced fan performance. Always keep ducting as straight, direct and tight as possible with any ducted fan installation.
Positive Pressure & Negative Pressure Explained
Positive pressure sub floor ventilation means that the amount of air being forced into your sub floor area is greater than the amount that is going out. For this to work well it is imperative that you have enough passive vents for air to escape, otherwise you run the risk of musty odours and air entering the living space above. This can however be effective in literally drying out a damp area.
Negative Pressure is the opposite, more air is being extracted than is entering. This is the most popular choice by our customers. The negative pressure encourages fresh air to be pulled in and forced extraction means that the air is removed. Again its very important to have passive vents to allow fresh air to enter.
Balanced pressure is bringing the same amount of air in as is being extracted. This would involve two or more fans. This could be achieved with two basic wall fans or two inline fan systems. Our kits can be set up to supply or extract, it just depends on the direction of the inline fan. This results in a comprehensive solution, meaning you can enjoy the fast drying benefits of air coming in and the benefits of forced extraction.
Why Buy a Sub Floor Kit from Pure Ventilation?
- Cost effective solution – engaging a company in a site visit can cost many thousands of dollars, when ultimately you will end up with a similar solution that you could get from us at a fraction of the price!
- Quality components – our pre packaged kits are powered by high quality Fanco branded inline fans that feature European made motors well equipped for continuous operation.
- You are purchasing from an Industry expert, we have been selling these kits for many years with plenty of happy customers!
- We are here to help – If you require advice or information we have a team of friendly ventilation experts ready to discuss your requirements.
Shop Our Pre Packaged Sub Floor Kits Below:


How to Calculate the required Fan Size
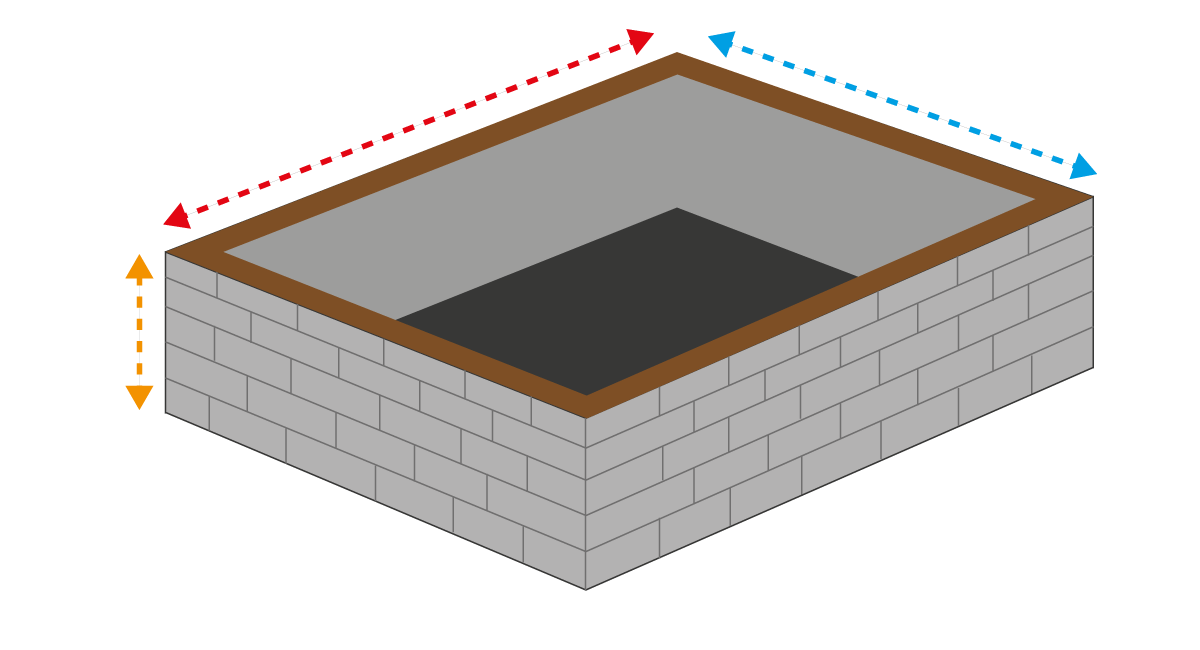
To calculate required extraction rate multiply sub floor length x width x height. This will give you your sub floor area in m3.
For sub floor ventilation, we recommend aiming for between 6 and 10 air changes an hour, but it depends on the severity of the problem. If there is a lot of moisture under the house, you will need a fan with a higher extraction rate. Use our calculator to work out the capacity of the fan you need.
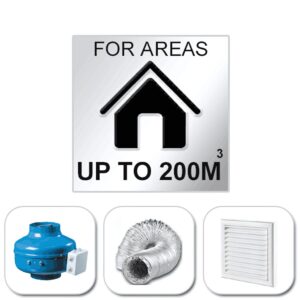
Practical Example – Our Sub floor area measures 0.8m high, 20m long and 10m wide (this is 200 m2 of floorspace, note the average Australian house size is approx 186 m2). This gives an overall area size of 160 m3. In order to achieve 6 air changes per hour we would need an extraction rate of 960 m3/hr. So for this kind of space motors similar to the below options would be a suitable choice to power our inline system.
10% OFF - EOFY10
10% OFF - EOFY10

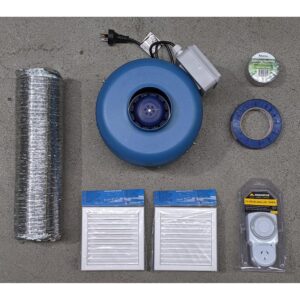
Pure Ventilation stocks a range of sub floor ventilation kits. These kits have everything you need to solve this problem, including an inline fan, ducting, vents…even tape! This kits are made for DIY installation, as long as you have a power point to connect the fan to. If there’s no existing power point (often the case for sub floor systems) an electrician can install the fan and anyone with a bit of DIY know-how can do the rest.
Getting the most out of Sub Floor Ventilation
There are a few things to consider when you install a sub floor system:
- The fan needs to be the right capacity for your purpose.
- At least two sides of the sub floor area need vents, to create a cross flow.
- Make sure the vents aren’t blocked. There needs to be a clear path for air flow.
- Any ducting needs to be kept as straight as possible. Be careful not to tear it during installation.
As a general guide, following the above principles will improve the ventilation under your home. If you need advice about sub floor ventilation, contact us.
need help? click here to contact us